kivyで簡単にファイル選択を行う方法
みなさまおはこんばんにちは、せなです
今回はKivyで簡単にファイル選択を行うことができる複合ウィジェットの、「FileChooser」を説明したいと思います
Contents
環境
Python:3.7
Kivy:1.11.1
始めに
以下のPythonファイルを基本に説明しています
from kivy.app import App
from kivy.uix.boxlayout import BoxLayout


class RootWidget(BoxLayout):
    pass


class TestFileChooser(App):
    def build(self):
        return RootWidget()


if __name__ == '__main__':
    TestFileChooser().run()
FileChooserの基本表示方法
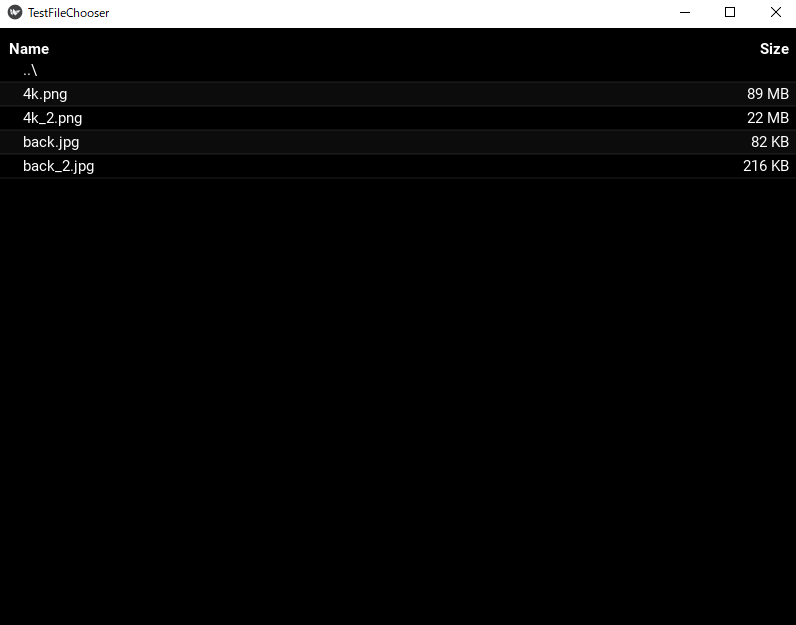
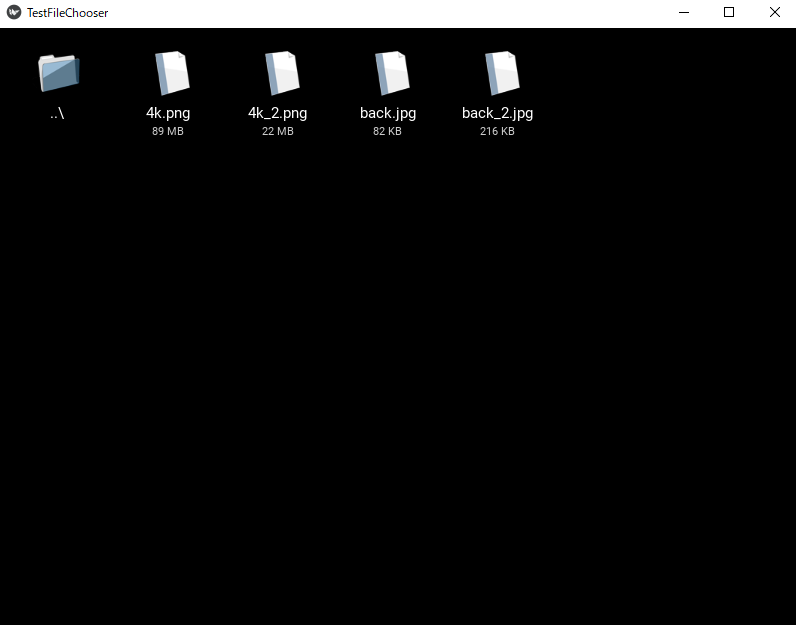
FileChooserには2つの表示方法があります
- FileChooserListView:リスト形式で表示
- FileChooserIconView:アイコン形式で表示
FileChooserListView:
    path: 'c:/img'
FileChooserIconView:
    path: 'c:/img'
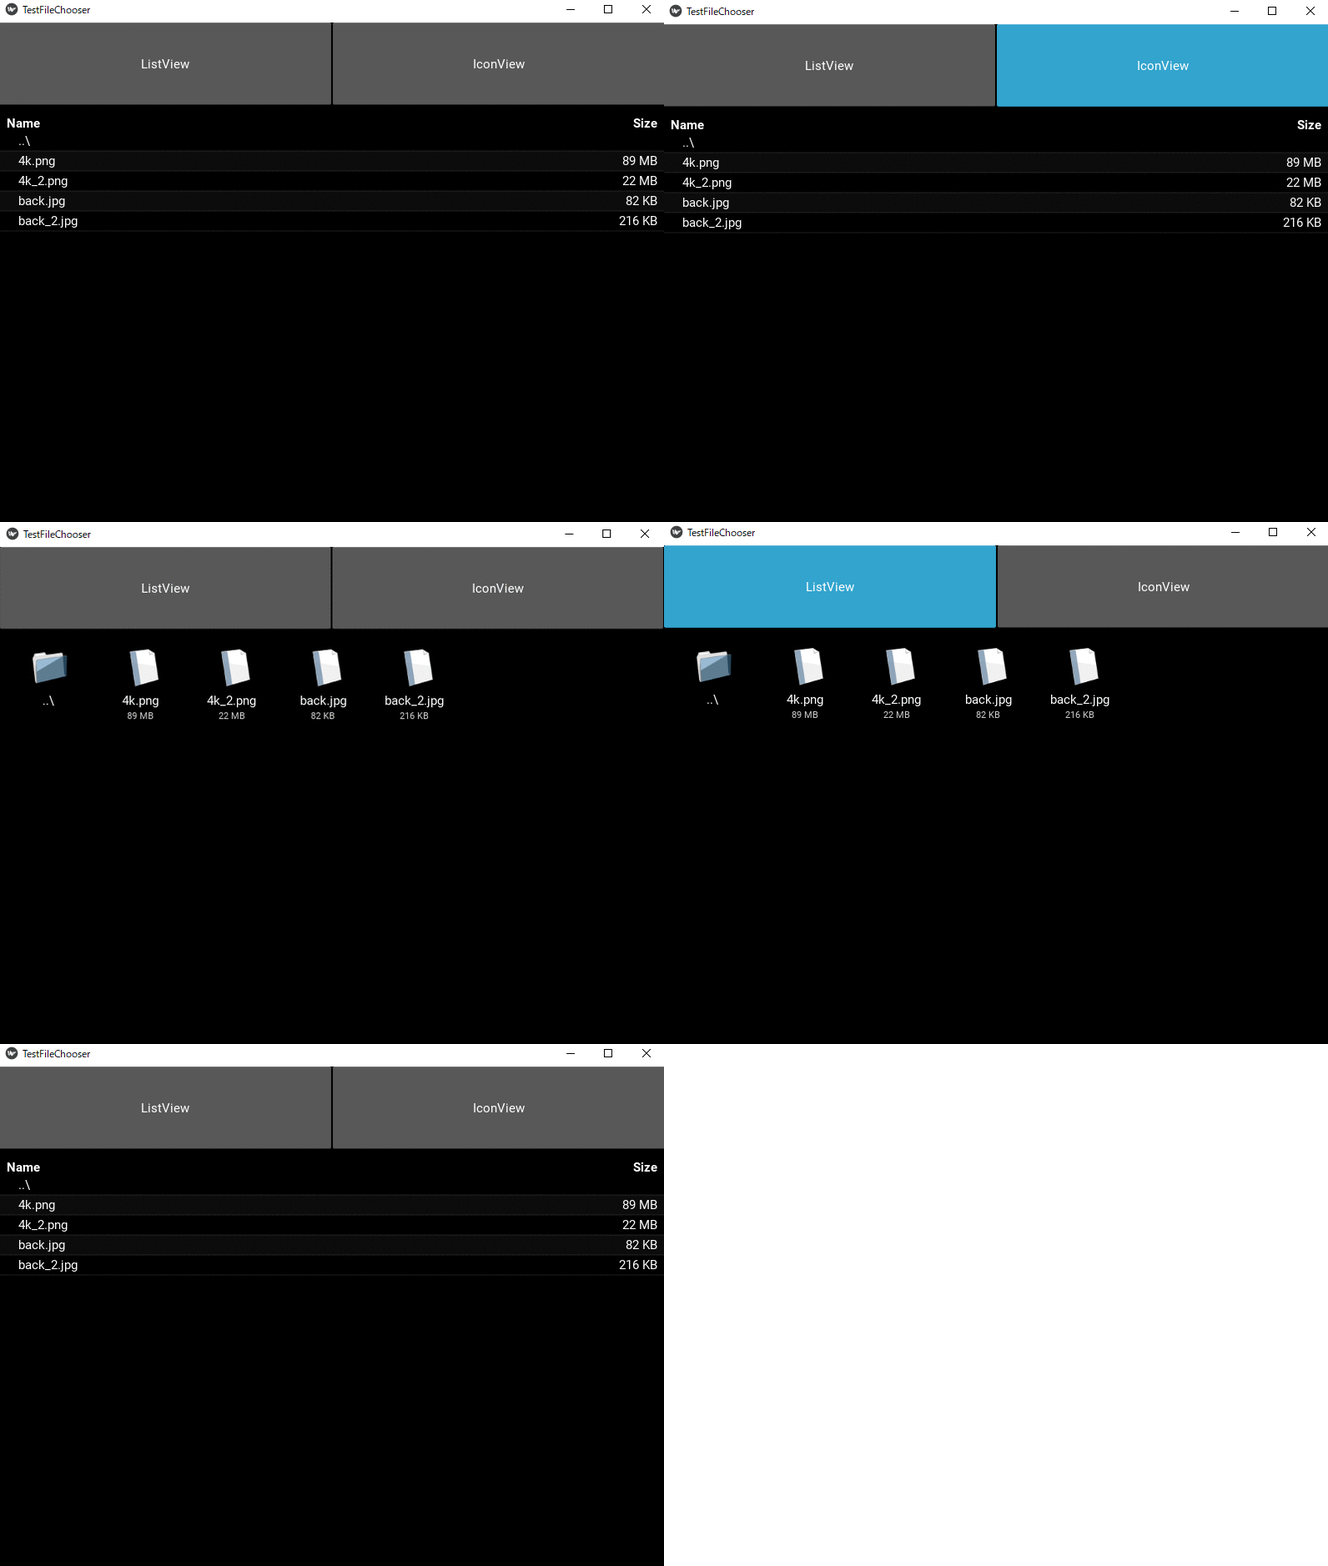
FileChooserのリストとアイコンを切り替える
切り替えを行いたい時には、「FileChooser」を使用し、「view_mode」を切り替えることで実装できます
<RootWidget>
    orientation: 'vertical'
    BoxLayout:
        size_hint_y: None
        Button:
            text: 'ListView'
            on_release: fc.view_mode = 'list'
        Button:
            text: 'IconView'
            on_release: fc.view_mode = 'icon'
    FileChooser:
        id: fc
        path: 'c:/img'
        FileChooserListLayout
        FileChooserIconLayout
FileChooserのキーワード引数
フィルター
「filters」を使用することで、特定のファイルのみの表示に変更することができます
FileChooserListView:
    path: 'c:/img'
    filters: ['*.jpg']
表示ファイルのリスト
「files」を使用することで、フィルター後の表示ファイルをリストで取得することができます
Label:
    id: lb
    text: ''
Button:
    text: 'FileView'
    on_release: lb.text = '\n'.join(fc.files)
FileChooserListView:
    path: 'c:/img'
    filters: ['*.jpg']
上の記述は、ボタンを押下するとラベルに現在表示されているファイル名が表示されます
選択ファイルのリスト
「selection」を使用することで、現在選択しているファイルをリストで取得することができます
Label:
    id: lb
    text: ''
Button:
    text: 'FileView'
    on_release: lb.text = '\n'.join(fc.selection)
FileChooserListView:
    path: 'c:/img'
    filters: ['*.jpg']
ディレクトリの指定
「path」を指定することで、ディレクトリを変更することができます
FileChooserListView:
path: 'c:/img'また、「rootpath」を使用するとそのディレクトリよりも前の階層に戻ることを禁止させることができます
※’c:\img’を指定すると、’c:\’直下の階層には戻れなくなる
FileChooserListView:
    rootpath: 'c:/img'

ディスカッション
コメント一覧
まだ、コメントがありません